Converting records to a different type
You can initiate conversion of records from one object type to
another in the following ways:
- Multiple records:
- By selecting the records in a list view and using the Convert option from the group actions menu.
- Using conversion maps with triggers and workflow actions.
- A single record: By opening its view page and using the Convert option from the group actions menu.
To convert one or more objects from a list view, follow these steps:
- From the application menu bar, click the object type for the
records of interest.
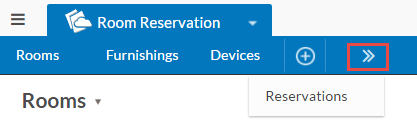
If the application uses the Traditional UI blueprint, click the object type for the records of interest from the application menu bar. If you don't see the object of interest, check the overflow menu.
 If the application uses the Modern - Vertical Menus UI blueprint, click the object type for the records of interest from the sidebar.
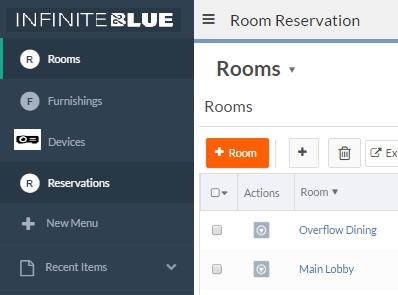
- Select the record(s) to convert:
To convert all, select All from the select menu:
 To convert all on a page, select This page from the select menu and check All.To convert a subset, check the box next to each record.
 - Open the group actions menu:
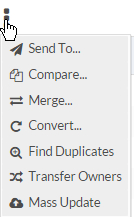
- Select Convert.
A screen opens for you to select the target object type. The following example shows the screen that appears when converting a title from a sample library application to a check out:
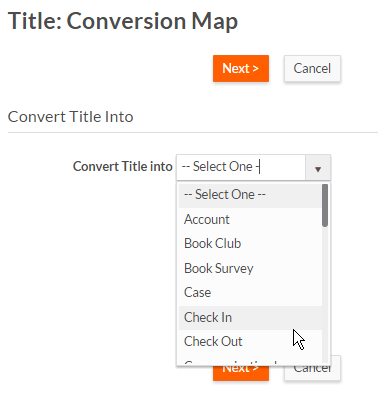
- Select the target object type. Available types include all deployed objects except the source object.
- Click Next.
The Conversion Map screen opens:
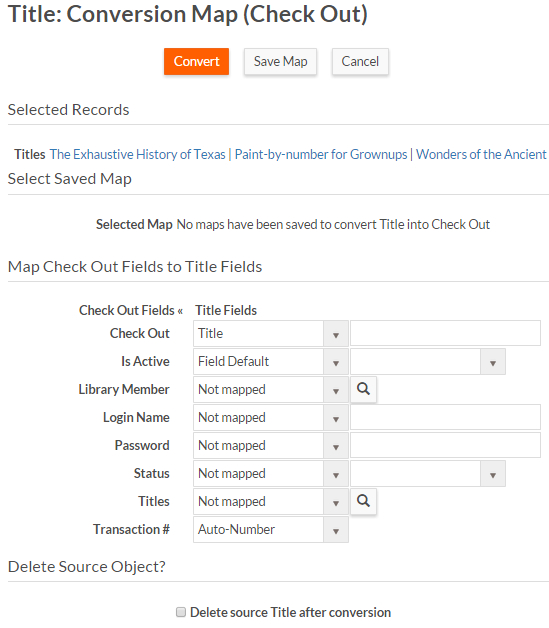
- Map the fields as desired. Required fields must be mapped. See Converting records for more information on mapping.
- Optionally check the box to have the original record deleted after the conversion.
- Optionally click Save
Map to save the conversion map in the source object definition.
After saving, you will be able to convert the records or cancel.
- Click Convert to convert the selected records.