How to map a Header
The Header tab allows you to configure header information that you wish to send to the REST endpoint. You can either pass a value from Platform object fields or create a constant key/value pair.
To map the Header:
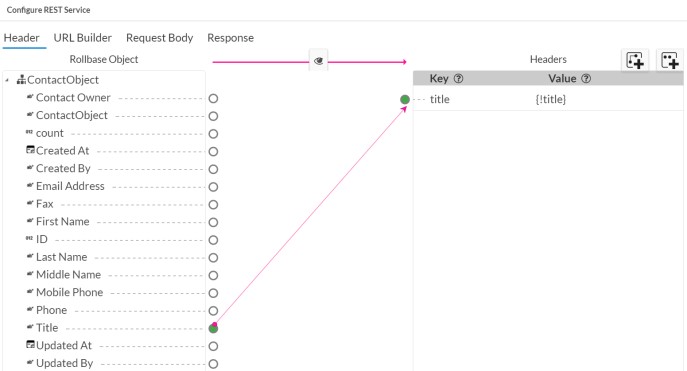
- From the New Trigger screen, click Configure. The Configure REST Service screen opens displaying Platform objects and fields on the left and Headers on the right. By default, the Header tab is selected, allowing you to map fields.
- Add a mapping pair to the header by using the Add New Mapping Pair icon and to add a constant value use the Add New Constant Pair icon.
- To map a field, select a circle next to a Platform field and drag the arrow that appears to a
circle next to a Header. Note that you can only map fields and attributes, not
objects and entities. See Supported data types and conversions for a complete list of supported data types and conversions.
Note: You can drag and drop the mappings to rearrange it.
- When you have finished mapping, click Configure URL.
When you use a Mapping pair, you can drag a Platform field and connect it to a new mapping pair. This adds a new pair to the header with the key name defaulting to the Platform field integration-name (editable) and the value maps to field token (non-editable).
Constant pairs are fixed (constants) irrespective of the records the trigger executes. These pairs can be used to represent constant keys.