Creating a custom header and footer
If you are planning to use a portal as part of your website--rather
than embedding it in one of your website's pages using an HTML iframe-- you can add a
custom header and footer to your portal by adding HTML code. The header and footer will
appear in all of the portal's pages. This allows your portal to adopt the look and feel
of the website in which it is incorporated.
Follow these steps to create a custom header and footer for a portal:
- Develop or obtain the HTML code for the header and footer. If you do not already have HTML code to use for the header and footer, the easiest way to get started is to select a page on your website to use as a template. View the HTML source of this page and remove any central content where you would like your portal content to appear. All HTML code above this content should be used as the header and all HTML code below should be used as the footer.
- If any code in your portal header or footer HTML contains
references to external files such as images, JavaScript files, CSS files, or
links to other pages using relative URLs (such as
"../images/myimage.gif",
"../index.html", etc.), do one of the following:
Switch to fully qualified URLs, including the full path to each external file. For example, you would change "../index.html" to "http://www.mycompany.com/index.html".Include the following element in the
<head>element of your header:<base href="www.mycompany.com"> …, wheremycompany.comis your website's URL (the full path to the directory where your content can be found if the relative URLs were added to the end of it). Thebaseelement tells any relative URLs to use the specified path as the root and is the only way relative URLs will resolve to the correct domain. - If you have enabled the HTTPS setting for the portal, verify that your HTML code either uses a base URL with HTTPS support or that all of the images and files referenced in the header and footer use fully qualified HTTPS URLs.
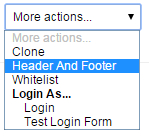
- When your header and footer HTML is ready to add to the portal, from the
portal's view page, select Header and Footer from the
More actions drop-down menu:
 The Header And Footer page opens:
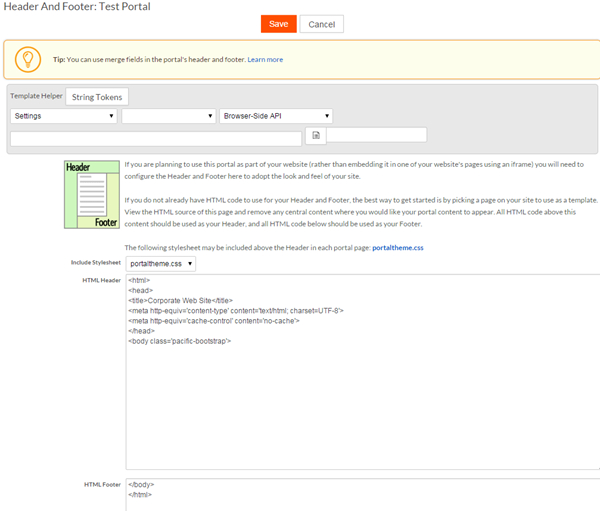
- On the Header And Footer page, paste the HTML for your header into the HTML Header area.
- Paste the HTML for your footer into the HTML Footer area.
- You can choose to include the default stylesheet named portaltheme.css above the header in each portal page. From the Include Stylesheet drop-down list, select portaltheme.css to include the default portal stylesheet or select None if you do not want to use the default stylesheet.
- If desired, you can customize the header and footer using merge fields, such as
{!#CURR_USER.firstName}in the HTML code for the header and footer. If you want to include merge fields, use the Template Helper to create the code for each merge field. In the graphic below, the user has selected the current portal users's name to generate the merge field to include in the header or footer:For more information about merge fields, see Adding business logic .
- Click Save.
Your portal pages will now contain the custom header and footer you
created.