Approvals
To configure an approval process, follow these steps:
- Install the Approvals application
- Create an email template
- Select approvers
- Set the Approval attribute
- Set up the Approval process
- Optionally, customize the approvals process
Install the Approvals application
Install the Approvals application from the Marketplace (click Install Applications from the Platform menu or from the left sidebar on a setup page). This application has a system object named Approval. Each approval record contains the following information:
- A reference to the record being approved
- A reference to the user being asked to approve or reject that record (approver)
- The current status of this approval: pending, approved, or rejected
Create an email template
Create an email template to be used to notify approvers that they have something to approve or reject. See Email templates for details. The email template should include a link to the record being approved.
Select approvers
Next, select a group of users who will participate in the approval process. Make sure the Is Approver check box is selected for each of these users in the edit user page (if you do not see this box, use the page editor to add it to the page. See Pages, the page editor, and grid controls for more information).
Set the Approval attribute
Edit the object you want to participate in the approval process and enable the Approval attribute. This automatically enables the Workflow attribute if it was not previously enabled. This creates the following components:
- The system statuses: Approval In Progress, Approved and Declined
- The workflow action object_name Approval (for example, Order Approval), which is used to start an approval process on a particular record
Set up the Approval process
Edit this object_name Approval workflow action to complete the configuration of the approval process:
- Assign the object_name Approval action to a workflow status. Typically, this is the default status for your workflow process.
- Select a default list of approvers (this can be changed at runtime whenever the approval process is started on a record).
- Select an email template to be used to notify approvers that they have something to approve or reject. See Create an email templateCreate an email template to be used to notify approvers that they have something to approve or reject. See Email templates for details. The email template should include a link to the record being approved..
- Choose the workflow process in which to use this approval action (typically the Default workflow process).
- Choose the approval type:
- Sequential — Approvers will be notified in sequence. The record will be rejected if any approvers reject it, otherwise it will be approved once all approvers approve it.
- Parallel — All approvers will be notified simultaneously and can submit their feedback in arbitrary order. The record will be rejected if one or more approvers rejects it, otherwise it will be approved.
- Tally Votes — This works identically to the parallel approval process, but will continue until all approvers approve or reject the record. The record will be approved if a majority of the approvers approve it and it will be rejected otherwise.
- Assign appropriate permissions to run the object_name Approval action.
Optionally, customize the approvals process
To further customize an approval process, you can:
- Create several workflow processes
- Create (by cloning) several object_name Approval actions to start them.
- Create several email templates as needed.
Once configured, your approval processes will operate as follows:
- Any user with sufficient permissions can invoke the object_name Approval action for a selected record (or a number of records if the Group Action property is enabled for the action).
- An email to the first approver will be sent (or all approvers for a parallel or tally votes process).
- The email should include a link to the record being approved. This link will open the view page for the approval.
- Approvers will also see a list of records currently waiting for their
approval in the My Approvals tab of the Approvals application.
Selecting a record opens the view page for the approval.
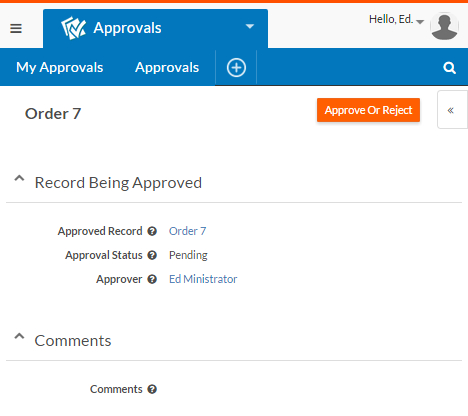
- After reviewing a record submitted for approval, the approver clicks
Approve Or Reject, which opens the approval page:
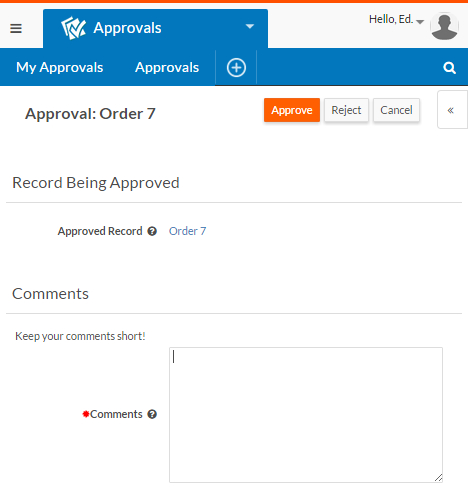
- On this page, the user can:
- Provide comments.
- Click Approve, Reject, or Cancel.
- If the record is approved, the sequential process will continue and an email will be sent to the next approver in the sequence.
- If the record is rejected, the approval process will end and the record will be moved to the Rejected status (any approver has veto power, except for the Tally Votes process described above. That is, an approver can approve a rejected order or reject an approved order).
- When all approvers have approved the record, it is moved to Approved status.
You can associate triggers to run when a record's status is changed to the Approved or Rejected status. It is common to configure a trigger to notify specific users when a record has been approved or rejected.